Secure Your Sites (SSL) in Plesk
An SSL/TLS certificate encrypts the connection between your visitors and your website. HostGator provides a free SSL certificate through Let's Encrypt on eligible hosting plans, and you can also upload a certificate you purchased elsewhere.
Before you install or upload a certificate, it helps to understand what SSL is and how the process of getting a certificate works. The terminology can seem technical, but the concepts are simpler than they first appear. For an overview, see Secure with SSL Certificates. For a closer look at how an SSL connection works, see SSL Basics.
This article shows you how to open the SSL/TLS Certificates page in Plesk, where you manage the certificates for your domains, and explains the options available there. For step-by-step instructions to install or upload a certificate, see How Can I Install an SSL Certificate? - Plesk.
Open the SSL/TLS Certificates Page
- Log in to Plesk. For help, see How to Log In and Preview - Plesk.
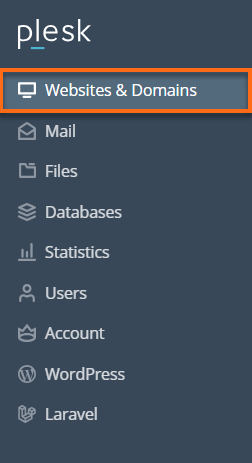
- Click Websites & Domains in the left-hand menu.
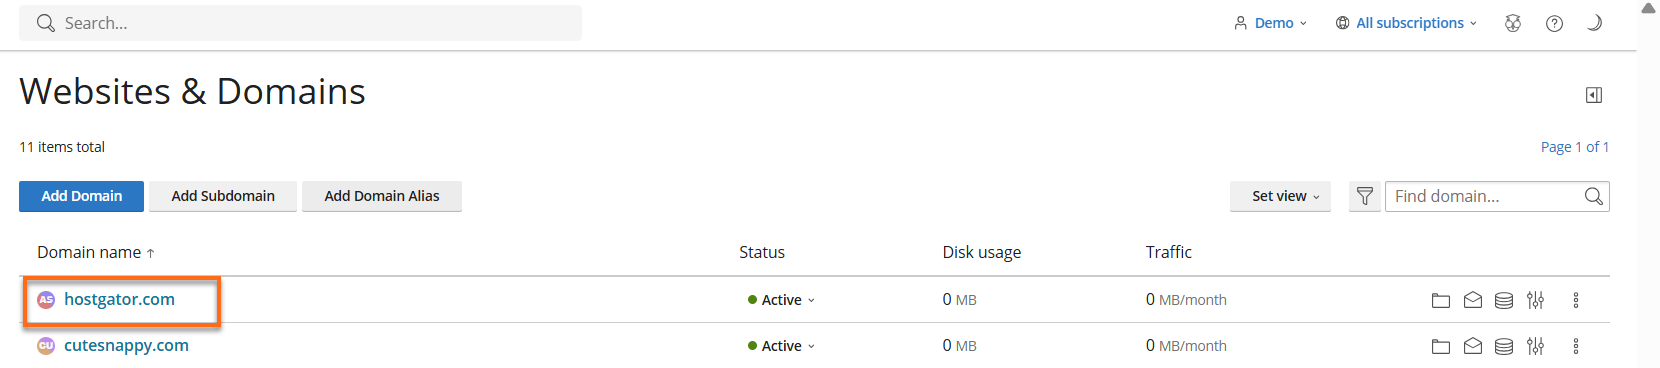
- Click the name of the domain you want to secure.
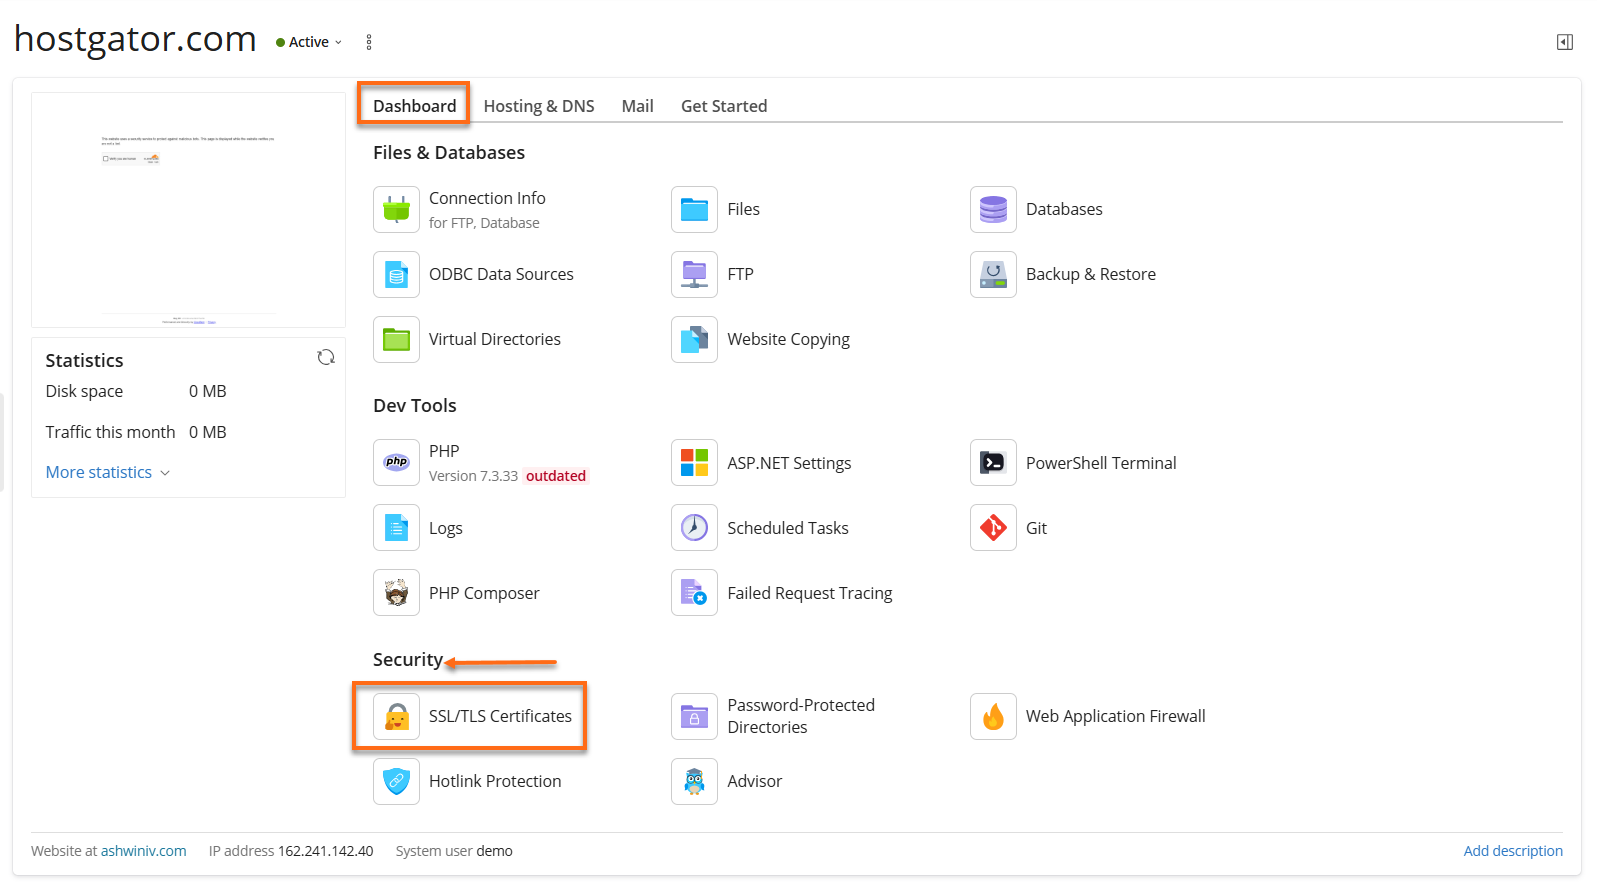
- On the Dashboard tab, find the Security section and click SSL/TLS Certificates.
Choose an SSL/TLS Option
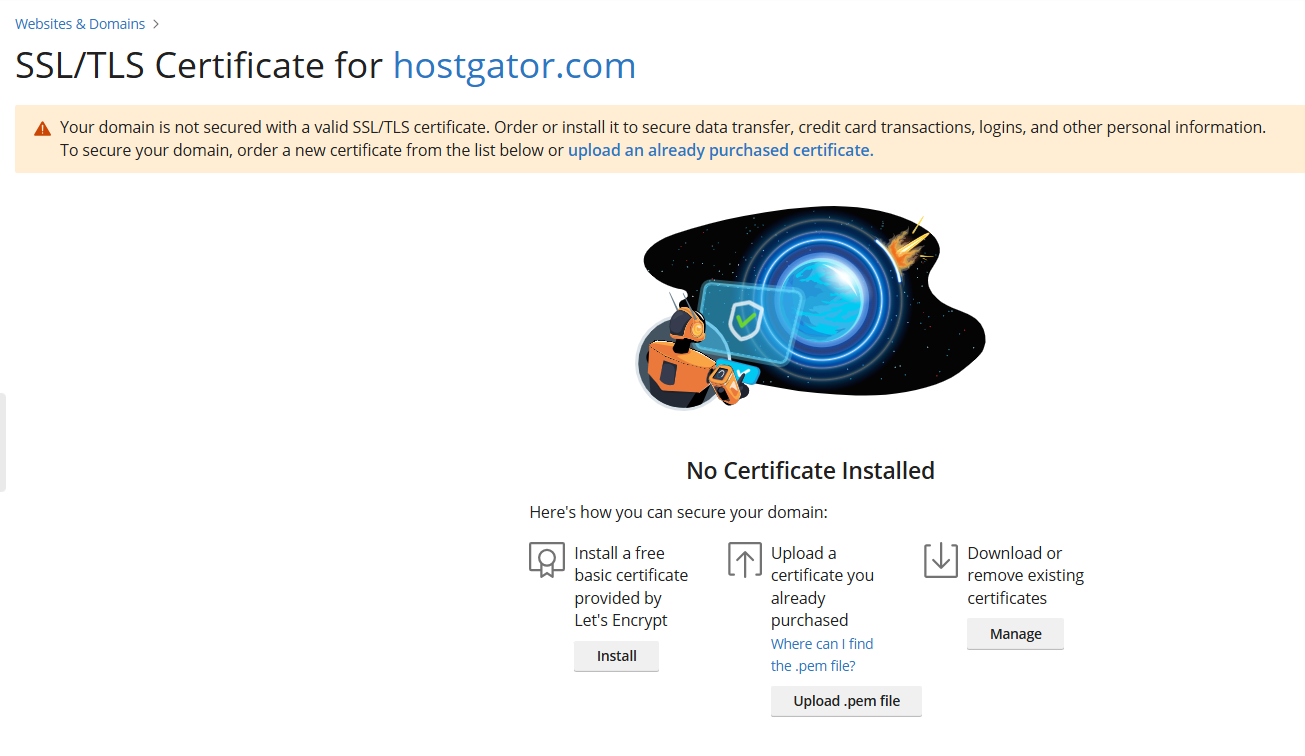
The SSL/TLS Certificate page for your domain opens. If the domain has no certificate, Plesk shows No Certificate Installed and a warning that the domain is not secured with a valid SSL/TLS certificate.
Choose how you want to secure your domain:
- Install: Install a free basic certificate provided by Let's Encrypt. Availability may vary by hosting plan.
- Upload .pem file: Upload a certificate you already purchased.
- Manage: Download or remove existing certificates.
This article covers opening the page and choosing an option. For the steps for each option, see How Can I Install an SSL Certificate? - Plesk.